How to Adapt a Detailed Club Logo to an Embroidered Cap Front
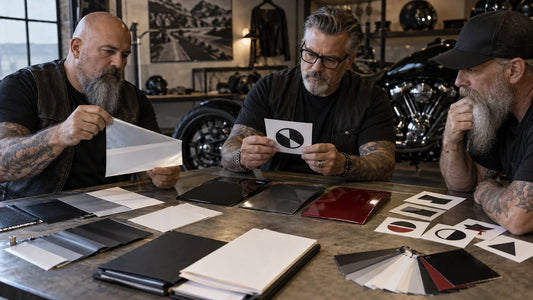
Adapt a detailed club logo by fitting its main identifier to the embroidery field of the exact cap crown, simplifying only with the authorized approver, and approving a real sew-out. A club logo on embroidered cap front cannot be judged from a flat screen proof alone because crown curvature and seams change how small elements reproduce.
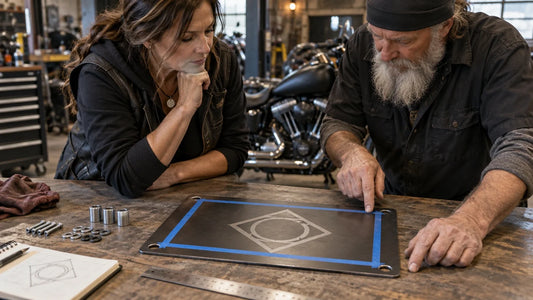
Start with the actual crown template
The existing article correctly emphasizes size, contrast, edge treatment and sample review. Preserve those principles, but do not use its fixed three-inch by four-to-five-inch suggestion as a universal production limit. Request the selected blank’s embroidery field, center seam, panel boundaries and supplier method with units.

Choose the main identifier
Begin from authorized original artwork. Decide which silhouette or central emblem must remain recognizable at cap scale. Do not copy every back-patch component onto a small crown, and never invent a new rocker, chapter name or status symbol. Any simplification needs a version number and approval by the club’s named artwork owner.
Define the smallest retained detail
Ask the supplier to identify the smallest line, gap or element it can reproduce for the proposed thread, fabric and crown. Replace unsupported rules with a sample-based decision. Strong contrast may improve visibility, but color selection should be reviewed against the actual cap fabric and physical thread samples.

Compare borders and application methods conditionally
The old guide usefully distinguished merrowed and cut edges, sew-on and other applications, metallic thread and raised effects. Keep these as questions, not promises. Availability and suitability depend on the selected blank, patch shape, edge, crown curvature and supplier process. Ask for offered samples before choosing.
Approve the curved-crown sew-out
Compare the physical sew-out to the full-size proof on the exact crown. Inspect the main silhouette, smallest retained detail, center-seam behavior, edge, thread color and position. Reject a proof packet that has no crown ID or only a flat rendering. Save blank ID, template revision, artwork revision, sample ID, approver and date.

Control revisions without losing authorization
Give the supplied master, cap adaptation, digital proof and physical sew-out different revision labels. When a line, gap, border or color changes, record who requested it and which version it replaces. This prevents a production-ready simplification from being mistaken for permission to redraw the club’s master art. It also keeps comments about the flat proof separate from observations on the stitched crown.
At final approval, place the current cap adaptation beside the original authorized mark. Confirm that the essential identifier remains recognizable, that no wording or status symbol was added, and that the approved crown and thread references match the quote. If the club selects another blank later, reopen the template and sew-out review instead of reusing the old approval automatically.
Keep rejected versions in the record as rejected, so an outdated file cannot return through a later email attachment or reorder.
For cap format, fit and order routing, use the Custom Motorcycle Club Caps buying guide. Compare current flat-brim and curved-brim destinations separately.
Frequently Asked Questions
What cap-logo size always works?
There is no universal size. Use the exact crown’s confirmed embroidery field and a real sew-out.
Should every detail from a large patch stay?
No. Retain the essential identifier and simplify only through the authorized artwork approval process.
Is a flat digital proof enough?
No. It does not demonstrate curvature, seam interaction or actual stitch reproduction.
Tags:
Previous
Making a Statement on the Road: The Versatility of Motorcycle Hats
Next
The Ultimate Guide to Arm Sleeves for Motorcycle Club Members
Related articles
How to Prepare a Club Decal for a Curved Surface
Sep 17 2026