
Custom Biker Pins: Design, Metal and Club Approval
Quick answer: A custom biker pin works best when its authorized artwork is simplified for the chosen size, matched to a suitable metal and enamel process, and tested for legibility, fastening and finish before quantity production.
At a glance

Define the pin’s purpose and audience

Decide whether the pin is for members, an event, recognition, fundraising or general supporters. That decision affects the artwork, quantity and distribution rules. Club names, logos, chapter identifiers and role symbols must be used only with written authorization. A pin should never imply membership or office that the wearer has not earned.
Simplify artwork for a small object

A pin is viewed at a much smaller scale than a back patch. Reduce unnecessary interior lines, open narrow gaps and protect the most recognizable silhouette. Lettering needs enough height and stroke width to remain legible after plating and enamel are added. Approve every simplification with the organization that controls the identity.
Choose an appropriate construction
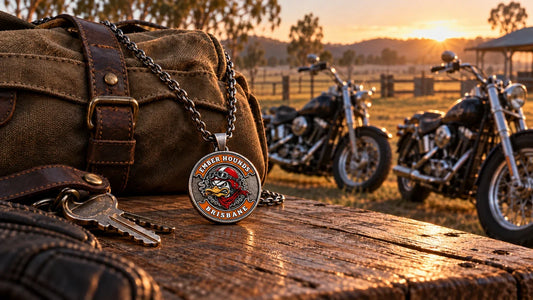
Soft enamel creates recessed color fields separated by raised metal. Hard enamel is polished flatter and usually feels smoother. Die-struck metal without enamel emphasizes relief and finish. Printed pins can reproduce fine color detail but have a different surface and durability profile. The best method follows the artwork and use case rather than a single claim of “premium.”
Specify metal, finish and color
Plating changes contrast and the appearance of every color. Bright, antique and dark finishes can make the same design read differently. Request finish samples or clear supplier references, and define enamel colors from the available system. Review the result under neutral light rather than relying only on a bright screen.
Size the pin for readability and wear
Check final dimensions in millimeters and print the outline at actual size. A larger pin supports more detail but weighs more and can pull on lightweight fabric. Consider garment thickness, placement and whether the pin may contact a zipper, motorcycle or protective equipment. Avoid loose jewelry while riding when it could snag or create an impact hazard.
Choose a secure fastening system
Butterfly clutches, rubber clutches, locking backs and screw fittings offer different security and ease of use. A wide or heavy design may need two posts to prevent rotation. Confirm post spacing against seams and pocket layers, and test the complete pin and backing on the intended material.
Review the proof and sample
Approve the silhouette, wording, metal areas, enamel fields, plating, post positions and dimensions. The supplier should identify the front and back clearly. Inspect a sample for sharp edges, pits, uneven enamel, loose posts, weak clutches and color errors before quantity production.
Control issue and reorders
Keep the approved proof, finish codes, colors, dimensions, backing type and sample photographs. Record which versions are current and who may receive them. This prevents an old chapter name, date or role marker from being reproduced accidentally.
Pin planning checklist
- Purpose, authorized audience and distribution rule
- Controlled club artwork and approved simplification
- Construction method, metal finish and enamel colors
- Actual-size readability and garment weight test
- Post count, placement and backing security
- Physical sample and retained reorder specification
Frequently asked questions
Does this guidance apply in every situation?
No. Motorcycles, products, local requirements and organization rules vary, so verify the details for the actual situation.
When is written authorization needed?
Obtain written approval before reproducing a club name, logo, colors or identity-bearing product.
Tags: