How to Make a Repeating Club Logo Read Correctly on a Lanyard
Quick answer: Set lanyard repeating logo orientation on the worn loop, not only on a flat strip. Mark repeat spacing, neck fold, join, hardware and front/back direction on the supplier template; then form a physical sample as worn and check that the original emblem reads consistently on both hanging sides.
This article owns repeat direction and spacing. Process, hardware and the overall group order belong in the shared buying guide. A flat proof may be technically neat while one worn side appears inverted or a repeat disappears into the neck fold. Use the Custom Club Lanyards buying guide for that wider decision.
How to Make a Repeating Club Logo Read Correctly on a Lanyard
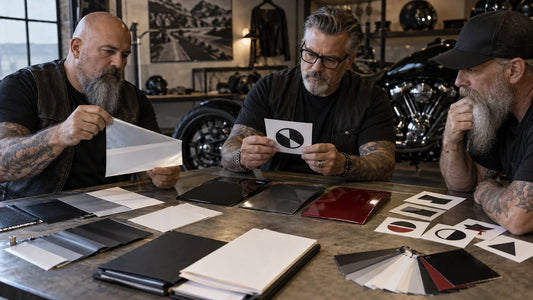
Plan the logo repeat on the lanyard as a worn loop. Mark the neck fold, join, hardware and viewing direction of both hanging sides on the supplier template; then make a full-length sample at actual width. A repeat that looks orderly on a flat strip can turn upside down on one side or disappear beneath the join after assembly.
Record repeat spacing, neck fold, strap front/back direction
- Record center-to-center repeat spacing with units on the exact supplier template, leaving production limits open.
- Mark the neck fold and the points where the flat strap changes direction when formed into a loop.
- Identify strap face, reverse, left hanging side, right hanging side, join and hardware orientation using simple arrows outside the artwork area.

Lay out the repeat on the supplier template
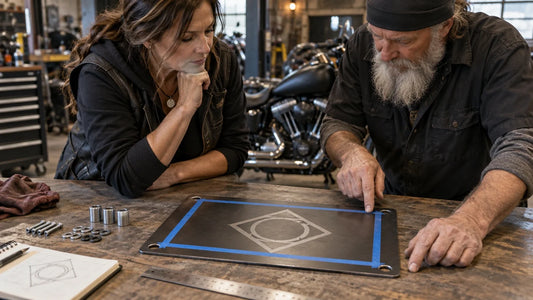
- Place the simplified original emblem on the supplier template at actual strap width.
- Print or build a full-length non-production mockup and form it as worn around a dress form or consenting adult.
- Check both hanging sides from normal front view, then inspect the neck fold, join and hardware transitions.
- Move repeats away from joins and hardware; protect open spacing before adding optional detail.
- Approve a physical process sample and record the final repeat direction.

Check the result before approving the proof
Hold the formed lanyard at the intended wearing height and photograph both hanging sides from the front. Compare each visible emblem with the directional arrows on the flat proof, and check the repeat nearest the neck fold and attachment seam. If a motif is inverted or cut off, revise the sequence on the supplier template before approving production artwork.
Save the approved repeat spacing and proof version
The first flat proof repeats every emblem in one direction. When the strap is joined and worn, the right side appears inverted and one repeat lands under the attachment seam. The correction mirrors the appropriate sequence on the supplier template and moves the boundary away from the join. Acceptance means both hanging sides present the primary geometric motif in the approved direction and no essential element is cut by hardware.

Record center-to-center repeat spacing, strap face and reverse, neck-fold position, join location and the final viewing direction for each hanging side. Attach the worn-loop photographs to the approved proof version so a reorder does not revert to an attractive but misleading flat-only layout.
Send the completed checks for a custom-order review
Send repeat spacing, neck fold and strap front/back direction with units, plus the supplier template, authorized artwork, intended quantity, destination, needed date and responsible contact. Include flat and worn photographs of the same sample. Ask the merchant for current strap construction, actual-width proof, attachment dimensions and exact-product breakaway documentation only if that option is offered.
Every direction decision should trace to the worn sample, supplier template, authorized artwork file or named approval. Mark unconfirmed process limits as open. Do not turn a lanyard feature into a riding-safety promise, and do not ask the supplier to infer repeat direction from an unlabeled flat strip.
Frequently asked questions
Why can a correct flat strip look wrong when worn?
Folding and joining reverse the viewing direction on one side. The worn loop must be part of proof approval.
Should every repeat use the same direction?
Follow the supplier template and intended worn result. One flat direction may need controlled reversal so both hanging sides present correctly.
Can the club judge spacing on a zoomed screen?
Use zoom for editing, but approve actual strap width and a full worn loop so spacing, fold and hardware are visible together.
What should be saved?
Keep repeat spacing, neck fold, face/reverse direction, join, hardware, sample ID, artwork and proof revisions, approver and date.
Request a design and quote review
Send your authorized artwork, quantities and completed measurement or sample checklist to request a design and quote review for lanyards.
Explore Lanyards Read the buying guide
A design inquiry is not production approval. Confirm current specifications, quote and final proof in writing.
Tags:
Previous
Woven or Sublimated Club Lanyards? An Artwork Comparison
Next
Woven or Sublimated Club Lanyards? An Artwork Comparison
Related articles
How to Prepare a Club Decal for a Curved Surface
Sep 17 2026