How to Prepare a Club Decal for a Curved Surface
Prepare a decal for a curved surface by documenting the exact permitted surface and curve, asking the supplier to confirm the adhesive system, and testing a final-size sample before approval. Club decal curved surface artwork should fit the proven application area; a flat proof alone cannot establish adhesion, distortion or removal behavior.
Start with the surface, not the artwork
Record what the surface is, whether it is painted, coated, textured or flexible, and who permits sticker application there. Photograph the entire object and the proposed area. Keep controls, vents, seams, edges, fasteners and required labels out of the placement zone. Do not infer surface chemistry from appearance. If the supplier or object manufacturer cannot confirm compatibility, keep the application unresolved.
For a helmet, do not treat a curved-shell photo as permission. The helmet manufacturer must approve the exact helmet material, location, film, adhesive and preparation method. This guide otherwise uses a generic, non-safety-critical curved test coupon as the worked example.

Record curvature and available space
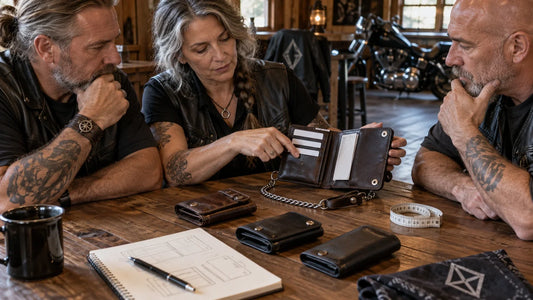
Measure the clear width and height on the surface rather than along an imaginary flat rectangle. Use the supplier’s requested method to describe the curve: that may be a template, radius, circumference, chord and rise, or a full-size paper test. State units and the tool used. Add front, side and oblique photographs so the supplier can see compound curvature. If the surface bends in more than one direction, flag it rather than reducing it to one number.
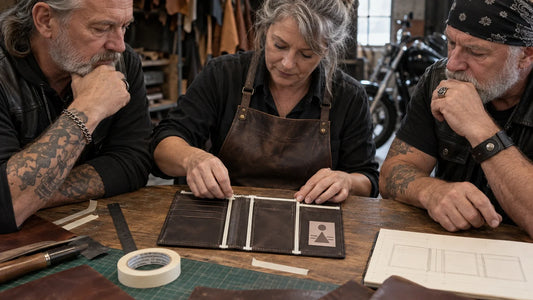
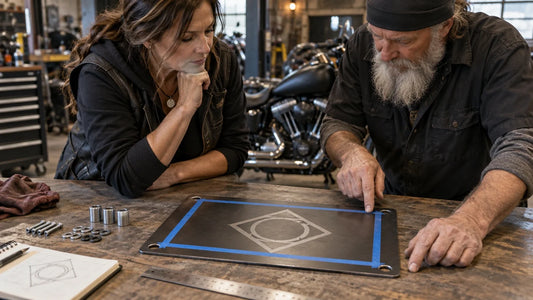
Make a paper or low-risk removable template at proposed finished size. Check whether its corners lift, its shape crosses an obstruction or its artwork distorts at normal viewing distance. The template only proves fit and position; it does not prove adhesive compatibility.
Ask for the exact adhesive and film specification
Send the surface record to the merchant and request the currently offered film, adhesive and finish identifiers plus documented compatible surfaces, preparation steps, application conditions, exposure limits and removal guidance. Leave missing values open. Never replace the supplier’s data with a generic statement that the material is waterproof, UV resistant, weatherproof, permanent, removable or residue-free.

Adjust artwork to the proven area
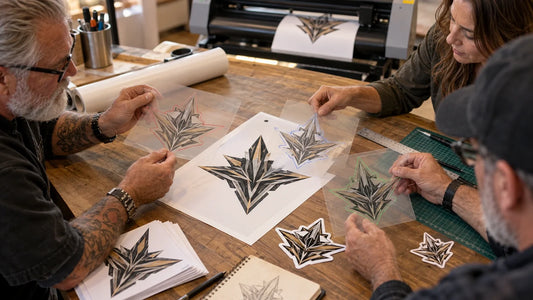
Supply authorized original artwork and separate the printed art from the cut path. Fit the essential identifier within the usable area shown by the surface template. Keep small features away from the supplier-confirmed safe boundary. Do not add a rocker, chapter name, status mark or extra wording. Record every adjustment as a new revision and return identity changes to the named club approver.
Run and document the sample check
Use a representative surface sample that the owner permits. Prepare and apply it only as the relevant supplier instructions state. Record sample ID, surface material and coating, cleaning products, temperature or other required conditions, date, observation interval and reviewer. Inspect the placed shape, visible distortion, edge condition and obstruction clearance. If the approved plan includes removal, follow the documented method and record what happened without generalizing one result to other materials or surfaces.

Save a reusable approval record
- Surface owner and application permission
- Material, coating and surface photographs
- Curve method, dimensions, units and template revision
- Clear area and excluded controls, vents, labels or edges
- Film, adhesive and finish identifiers
- Artwork, cutline and proof revisions
- Sample ID, conditions, observations, approver and date
Return to the Custom Motorcycle Club Stickers buying guide for format, quantity and overall order preparation.
Frequently Asked Questions
Can a flat measurement describe every curved surface?
No. Use the supplier’s requested curve method and photographs, and flag compound curvature explicitly.
Does a paper template prove the adhesive will work?
No. It checks size and obstruction clearance. Adhesive compatibility needs supplier evidence and a permitted representative sample test.
Can removal be promised to leave no residue?
No. Quote only the removal conditions documented for the exact material, adhesive, surface and test plan.
Tags:
Previous
Club Sticker Materials: What to Verify About Durability and Removal
Next
How to Draw a Cutline Around a Detailed Club Sticker