

Hardware, Stitching and Closures Used in Leather Backpacks
Evaluate leather-backpack construction by tracing load paths from the shoulder straps into reinforced anchors and seams, then checking zipper travel, buckle engagement, pocket closures, edge finishing and hardware attachment. Decorative studs and metalwork should not distract from the components that actually carry and secure the load.
Panel seams and structural stitching
Inspect where large leather panels meet at the base, corners and top opening. Even stitch spacing matters less than whether stress points are securely reinforced.

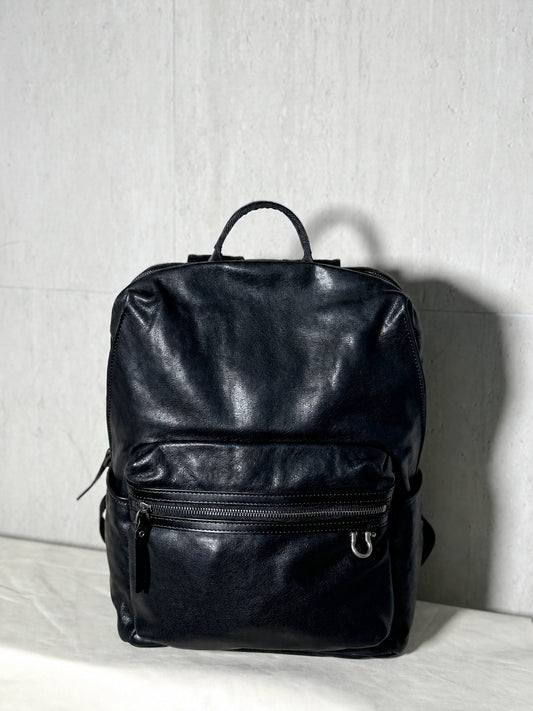
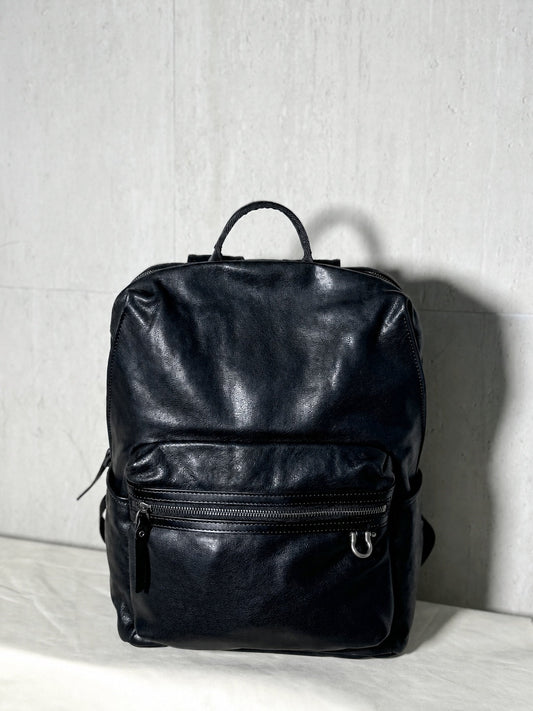
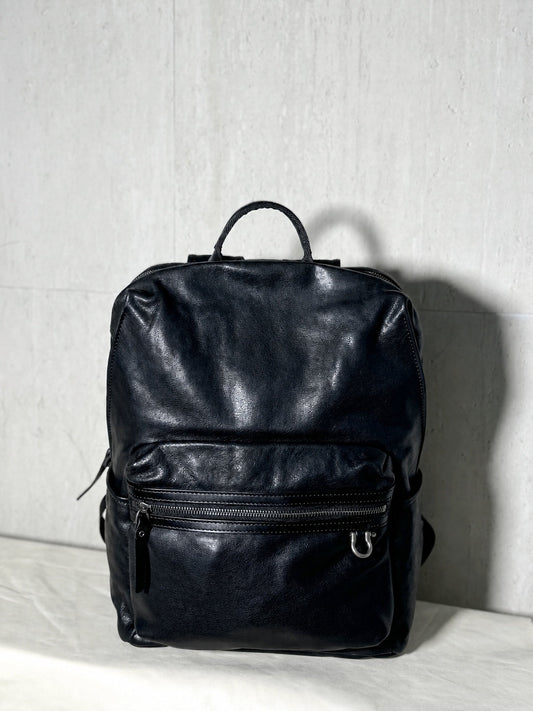
Trace the seams around the structured body, laptop area and layered pockets.
Strap anchors on soft travel packs
Soft bodies transfer load through anchor stitching and reinforcement patches. Check both upper and lower attachments and avoid loading beyond the intended use.

Inspect the adjustable straps, anchor points and seams on this soft travel design.
Zipper paths around structured openings
A zipper should travel around curves without forcing the teeth or catching lining. Inspect pull tabs, end stops and clearance around the opening.

Check the curved opening, zipper path and padded-strap attachment points.
Multiple-compartment closures
Every additional compartment adds zipper teeth, pulls, seams and lining junctions to inspect. Open each section fully and check whether the hardware remains accessible when loaded.

Review both large zip compartments, their end stops and surrounding seams.
Heavy-load reinforcement
Larger travel packs need secure strap anchors, a supported back and reliable top handles. Examine the junction between each load-bearing component and the leather body.

Wide straps, padded back and luggage pass-through create several load-bearing junctions to inspect.
Decorative studs versus functional hardware
Studs define the appearance, while zippers, buckles, seams and anchors secure the bag. Check that decorative pieces sit firmly and do not obscure functional inspection.

Separate the visual role of studs from the zippers, pocket closures and strap hardware.
Construction checklist
Trace straps into anchors, inspect seams at corners, run every zipper, engage buckles, test pocket closures without overloading, and check that metal parts do not have sharp edges against clothing.
Size and fit checklist
| Measure | Why |
|---|---|
| Laptop with case | Screen size alone does not define device dimensions |
| Usable opening | A device must pass through the zipper or flap |
| Loaded depth | Controls bulk and center of gravity |
| Strap range and width | Affects position and load distribution |
| Torso contact | Helps prevent the bag sitting too low or wide |
Pack for fit, not maximum volume
- Place dense items close to the back panel.
- Use both shoulder straps and adjust them evenly.
- Keep bottles and hard objects away from the laptop.
- Do not overload zippers, seams or strap anchors.
- When riding, ensure the pack does not restrict movement or protective gear.
Frequently asked questions
Will every 15-inch laptop fit a 15-inch backpack?
No. Compare the device’s actual dimensions, case and usable compartment opening.
Is a larger backpack more comfortable?
Not automatically. Torso fit, straps, load placement and total weight matter.
Does soft leather increase capacity?
It may conform around contents, but that does not justify overloading seams or electronics.
Can a leather backpack be used while riding?
Only when it does not interfere with movement, controls, visibility or protective gear.
Laptop capacities, materials, carry features and availability verified against active Motor Club Shop listings on September 13, 2026. Current product and variant details take priority.
タグ:
関連記事
Types of Leather Backpacks and When to Use Each
Sep 13 2026
How to Inspect Leather Backpacks Before Buying
Sep 13 2026


How to Choose Biker Necklaces as a Gift
Sep 13 2026
