How to Align Club Artwork Around a Lighter Lid Seam
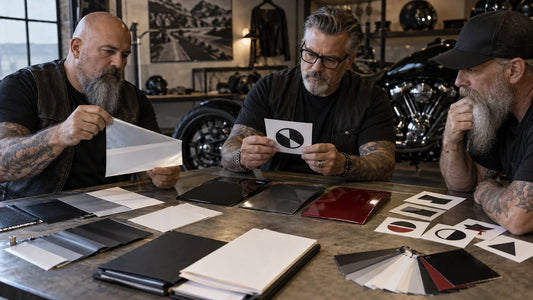
Quick answer: For lighter logo lid seam alignment, use the exact model template, mark the lid boundary, hinge side, front and reverse, and keep essential details inside supplier-confirmed decoration margins. Choose either a body-only placement or an intentional split; never cross the seam by accident. Review the same sample closed and open before approving it.
Record the accepted placement against the model and proof revision so a later reorder does not silently reuse the artwork on a different lighter body.
Mark the exact model seam and orientation
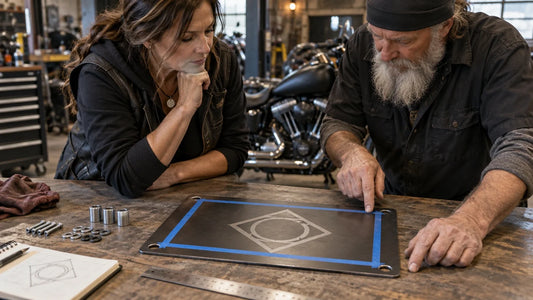
Ask the merchant for the actual model and current template. Record front, reverse, top, bottom and hinge side. Mark the seam and any keep-clear area with measured units only when confirmed. If the template is unavailable, send a request for model-specific measurements rather than borrowing another brand's outline.

Choose body-only or intentionally split artwork
| Placement | Use when | Approval check |
|---|---|---|
| Body-only | The central emblem must remain whole and clear | All essential geometry clears seam, edges and hardware |
| Lid-only accent | A secondary element can stand alone | Accent orientation matches the closed lighter |
| Intentional split | A simple line or background can tolerate a physical break | Closed alignment and open appearance are both acceptable |
| Front and reverse | The merchant confirms both faces can be decorated | Each face has its own orientation and area record |
Keep names, dates and small text away from the seam unless the sample proves the planned relationship works. A visually continuous line may still shift as the lid moves or production tolerances vary; request current supplier guidance rather than promising perfect continuity.

Review the sample closed and open
- Closed front: check alignment, scale and clearance.
- Closed reverse: check face orientation and hinge relationship.
- Open: confirm artwork does not create an unintended fragment or misleading shape.
- Side: inspect the seam, edge clearance and finish.
- Actual size: check small details without enlarging the proof.
- Record: save model, template revision, margins, sample ID, proof version, approver and date.

Keep handling and shipping facts separate
This is an artwork-alignment guide. Fuel, filling, transport and carrier acceptance depend on the actual product, merchant and destination. Do not ignite or fuel a sample during artwork review. Ask for current written shipping and fuel-handling instructions.
Write an alignment acceptance test
Turn “looks centered” into a repeatable check. Name the reference edges, record the intended distance from the seam and sides when confirmed, identify the top direction and state which geometry may cross the seam. Then compare the closed front, closed reverse, open view and side view against that record. If a physical sample shifts the design or breaks an essential element, reject that proof version and request a corrected placement. Do not solve the problem by changing the club mark without authorization.
Store the accepted template and sample photographs with the model reference, artwork revision, named approver and approval date. A future order on another model requires a new alignment review rather than an assumed carryover.
Frequently asked questions
Can artwork cross the lid seam?
Only as an intentional, supplier-reviewed design. Essential text and identity elements are usually easier to control away from the seam.
Do all flip-top lighter templates match?
No. Dimensions, seam location, hinge and usable decoration area can differ.
Should we approve only the closed view?
No. Review front, reverse, side and open views of the exact model or sample.
Can the supplier infer the front?
Do not rely on inference. Mark front, reverse, hinge side and top direction in the approved record.
See the Custom Club Lighters buying guide for the complete inquiry and approval workflow.
Request a seam and placement review
Send your authorized artwork, quantities and completed measurement or sample checklist to request a design and quote review for custom lighters.
タグ:
以前の
How to Simplify a Club Logo for Lighter Engraving
次へ
How to Keep Lettering Readable on an Embroidered Back Patch
関連記事
How to Prepare a Club Decal for a Curved Surface
Sep 17 2026