How to Draw a Cutline Around a Detailed Club Sticker
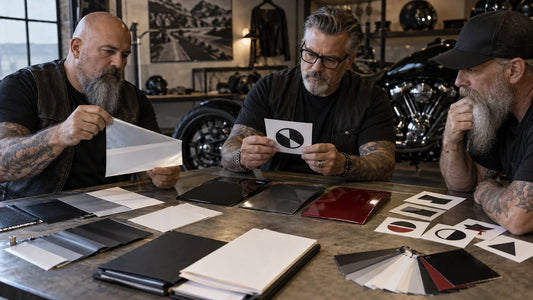
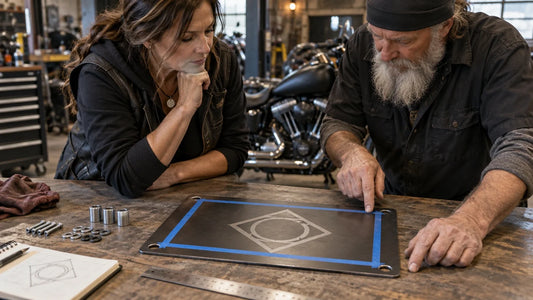
Draw a sticker cutline as a separate supplier-confirmed path around the essential artwork silhouette, then review the boundary, bleed, safe margin and narrow details on a physical final-size sample. A custom sticker cutline detailed logo workflow should never turn fine artwork into fragile cut fingers or silently alter an authorized club identity.
Separate printed artwork from the cut path
Keep the authorized art on its own layer and place the proposed cut path on a clearly named separate layer or template according to the actual printer’s current specification. A cutline is a production instruction, not a decorative outline. Do not flatten it into the art or assume a line shown in another supplier’s file has the correct color, name, width or offset for this job.
Record the intended finished width and height with units, whether the design is die-cut or kiss-cut if offered, and the required liner presentation. Leave supplier-specific tolerances open until the merchant confirms them.

Define finished boundary, bleed and safe margin
The finished boundary describes the physical sticker edge. Bleed extends printed color beyond that boundary when the printer requires it. The safe margin keeps essential artwork inside a supplier-confirmed inset. Ask the printer for each value and unit; do not insert common internet numbers. On the full-size proof, confirm that the main identifier stays inside the safe area and that the edge color behaves as intended after cutting.
Find narrow corners, fingers and islands
Inspect the path for thin protrusions, tight inward corners, tiny standalone islands and rapid direction changes. These may be difficult to cut, weed, handle or apply at final size, but the actual limit depends on the printer, material, adhesive, finish and process. Ask the supplier to mark problem locations. Then choose with the club’s artwork owner whether to widen a connection, soften a corner, combine an island or simplify the silhouette.

Protect the identity while simplifying
Start from the current authorized master and name one approver. Record the master, cutline proposal and supplier-corrected version separately. A technical correction does not authorize new text, chapter names, years, symbols, rockers or status marks. Compare each revision beside the master at actual size and ordinary viewing distance. If the essential identifier is no longer recognizable, return to the earlier design decision rather than continuing toward production.
Review a physical cut sample at final size
A digital proof can show coordinates but cannot demonstrate the physical cut and handling result. Inspect a sample produced with the proposed material and process. Check the finished outline, corner condition, narrow joins, isolated pieces, printed edge, liner handling and correspondence to the proof. If it will be applied, test only on the permitted intended surface under the relevant supplier instructions; cut quality does not establish surface compatibility, outdoor life or clean removal.

Save the approved production record
- Authorized artwork master and approver
- Finished dimensions and units
- Printer’s current cutline specification
- Cut path, bleed and safe-margin revisions
- Marked narrow corners, fingers and islands
- Physical sample ID, material and process
- Acceptance notes, date and signed approver
Use the Custom Motorcycle Club Stickers buying guide for material, surface, quantity and quote preparation beyond this cutline decision.
Frequently Asked Questions
Is there one cutline offset that works for every printer?
No. Use the current specification supplied for the actual printer, material and job.
Should the cutline be merged into the artwork?
No. Keep it as a separate production element so the authorized art remains traceable and unchanged.
Can a digital proof prove narrow details will cut cleanly?
No. Review a physical sample at final size with the proposed material and process.
タグ:
以前の
Custom Biker Wallets: Buying Guide for Club Organizers
次へ
Custom Biker Wallets: Buying Guide for Club Organizers
関連記事
How to Prepare a Club Decal for a Curved Surface
Sep 17 2026