Custom Biker Patch Gallery & Embroidery Examples
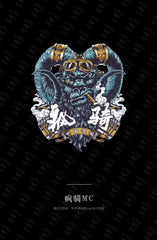
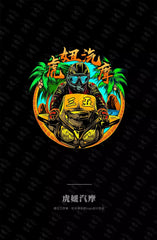
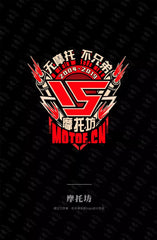
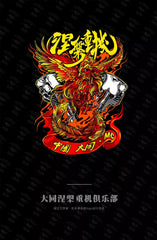
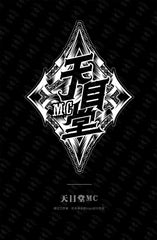
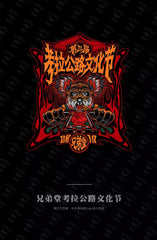
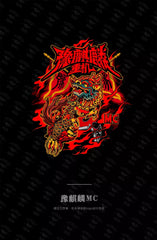
Quick answer: A useful custom biker patch gallery should help a club compare layout, border shape, lettering scale and placement—not simply collect images. The examples below can be used as visual references while your authorized club artwork is prepared for a production review.
What to Compare in These Patch Examples
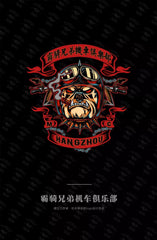
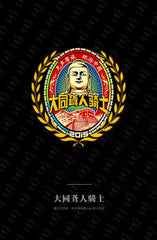
Start with the overall silhouette. Round, shield, rectangular and custom-cut shapes create different amounts of usable space around a central emblem. A design that looks clear on a large back patch may need simplified lettering or fewer small details when adapted to a chest patch, name bar or rocker.
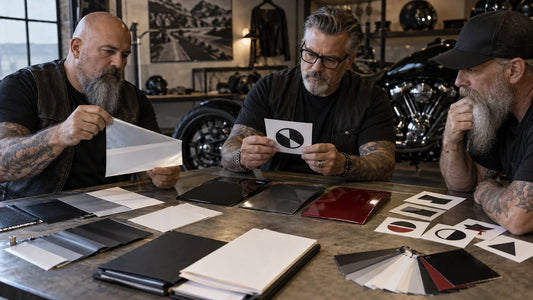
Next, examine the separation between the background, border and lettering. Strong contrast can help important words remain readable, while narrow gaps and very small elements may be difficult to reproduce consistently. The actual result depends on the approved artwork, finished dimensions and the production method selected for the order.
Plan the Patch Around Its Intended Placement
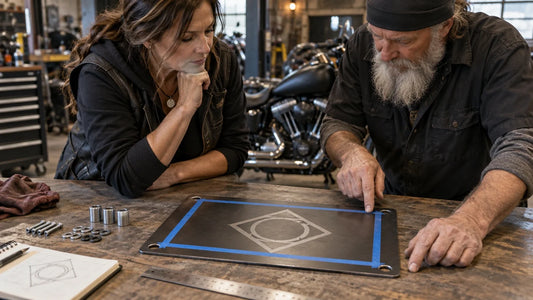
Before requesting a quote, record where the patch will be worn or displayed. A vest back panel, front chest area, sleeve and event bag all have different space constraints. Measure the available area on the real garment instead of estimating from a photograph. Note nearby seams, pockets, zippers and existing patches.
For coordinated club sets, prepare a list of every required piece: central back patch, top and bottom rockers, side rockers, officer or rank patches, name bars, memorial pieces and event badges. Keeping the artwork and color references together helps the design team review the full system rather than treating each patch as an unrelated item.
Artwork and Proof Checklist
- Confirm that you are authorized to use the submitted club name, emblem and artwork.
- Provide the intended finished width and height for each patch.
- Identify which words and symbols must remain readable at the final size.
- Confirm the required border shape, backing and attachment preference when available.
- Review spelling, dates, chapter names, colors and placement before approving the proof.
- Request a physical sample when the order, detail level or color matching makes one appropriate.
How to Use the Gallery
Use these images to discuss composition and hierarchy, not to copy another club’s identity. Mark the examples that best communicate the amount of lettering, emblem scale or border treatment you prefer. Then submit your own approved artwork through the quote request or review the custom biker patch collection.
Final colors, dimensions and construction should always be confirmed on the quotation and production proof for your specific order.
Common Planning Mistakes
One common mistake is selecting a patch size before measuring the garment. Another is approving a design while viewing it only as a large digital image. Small lettering, narrow outlines and crowded details may look clear on screen but change when reduced to the finished dimensions. A third mistake is treating every item in a coordinated set as the same shape. Rockers, chest patches and back emblems each need their own usable area and proof.
Avoid sending several conflicting artwork versions without identifying the approved file. Name the final version clearly and list any wording that must not be altered. If color matching matters, provide a physical or standardized reference and confirm how the production team will interpret it.
Information to Include With a Quote Request
Prepare the product type, finished dimensions, quantity, placement, target date and delivery country. State whether the request is for a new design, a reorder or an adaptation of an existing approved patch. Include photographs of the intended garment when seams or pockets affect placement. These details allow the team to identify questions before artwork approval instead of after production begins.
Custom Biker Patch and Embroidery Examples




Tags:
Related articles
How to Prepare a Club Decal for a Curved Surface
Sep 17 2026