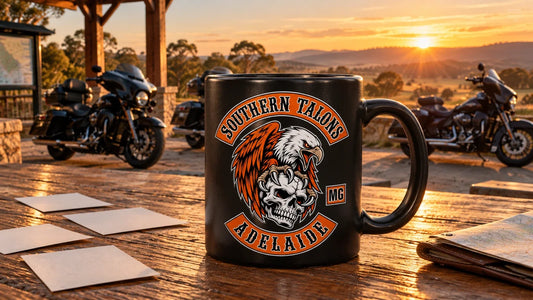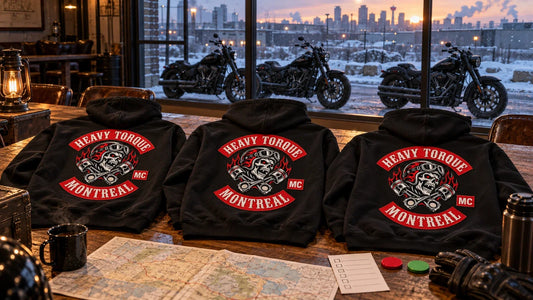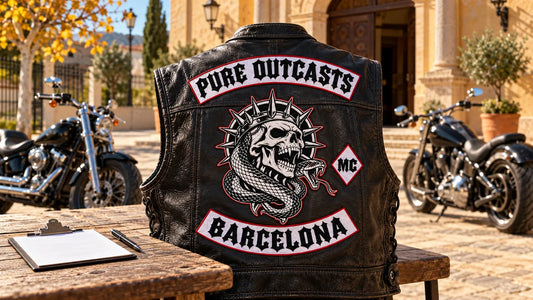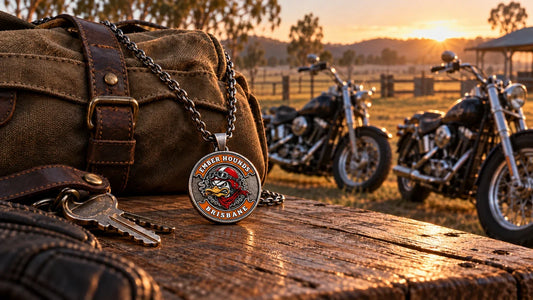

Custom Motorcycle Patches: Artwork, Materials and Ordering
Quick answer: A reliable custom motorcycle patch order starts with permission and clean artwork, followed by confirmed size, colors, construction, backing, an actual-size proof and a documented sample check.
At a glance

Prepare authorized source artwork

Begin with the club’s approved artwork owner and written permission. Use the highest-quality source available, preferably vector artwork or a clean master rather than a screenshot. Identify which elements are fixed: club name, symbol, colors, chapter text, proportions and any protected office or rank markers. Merchandise does not grant membership or authority.
Write a complete patch specification

A supplier needs more than a logo. Record the finished width and height, construction method, border, backing, thread or print colors, quantity and intended garment. If several sizes are needed, treat each as a separate production version because details may need different simplification.
| Decision | What to confirm |
|---|---|
| Size | Finished dimensions and garment location |
| Artwork | Approved version, exact wording and hierarchy |
| Construction | Embroidered, woven or printed based on detail |
| Edge | Merrowed or cut edge matched to shape |
| Backing | Sew-on, heat-applied or hook-and-loop suitability |
Match the production method to detail
Embroidery creates texture and a traditional raised surface, but very small lettering and narrow gaps can fill in. Woven patches support finer lines with a flatter appearance. Printed patches handle gradients and dense detail. Ask for production limits before simplifying the approved design, and have the club approve any change rather than allowing an unrecorded interpretation.
Control colors realistically
Screen colors, thread colors and printed inks are not identical. Define critical colors with the supplier’s available swatches and review them under consistent light. If exact brand matching is important, approve a physical sample. Keep a record of selected thread or ink codes for reorders.
Review an actual-size proof
Inspect spelling, proportions, line thickness, border clearance, color assignments and final dimensions. View the proof at 100 percent scale. Confirm that the design remains readable from the distance at which the patch will normally be seen. Give approval against a named version and date.
Evaluate a pre-production sample
A physical sample reveals issues a digital proof cannot: stitch density, puckering, edge quality, backing stiffness, color under real light and whether small gaps remain open. Place it on the target garment and check how it bends. List corrections precisely and require a revised proof or sample when a change affects identity or readability.
Plan distribution and reorders
Record who may receive each patch and how discontinued or damaged pieces are handled. Retain the approval, artwork, specification, supplier codes and accepted sample photographs. For a reorder, compare the new proof with the controlled record rather than relying on memory.
Order checklist
- Written authorization and approved master artwork
- Finished size and exact garment position
- Construction, edge and backing decisions
- Confirmed thread or print colors
- Actual-size proof and physical sample approval
- Distribution rules and a complete reorder record
Frequently asked questions
Does this guidance apply in every situation?
No. Motorcycles, products, local requirements and organization rules vary, so verify the details for the actual situation.
When is written authorization needed?
Obtain written approval before reproducing a club name, logo, colors or identity-bearing product.
Tags: