How to Keep Club Names Readable on Custom Keychains
Quick answer: To keep a club name readable on a small custom keychain, begin with the finished tag face, reserve clear space around the attachment and edge, and print the front and reverse at actual size. For custom keychain small logo text, protect the primary name or identifier before optional wording, simplify fine detail, and approve a physical sample of the chosen offered process. Never infer embroidered detail from a large screen mockup or a printed metal concept.
This guide owns the lettering-and-detail check. Material selection, attachment choice, quantities and procurement belong in the Custom Biker Keychains buying guide.
How to keep club names readable on custom keychains
Use a hierarchy, not a squeeze. Mark the one identifier that must be recognized first, then classify every other line or emblem detail as secondary or optional. If the full layout does not survive at finished size, remove or relocate secondary information before shrinking the primary club name. The supplier—not a generic online rule—must confirm the smallest reproducible letter, line, gap and edge clearance for the quoted construction.
Readability has three separate tests: can a person recognize the primary identifier at normal viewing distance, can the chosen process reproduce it consistently, and does hardware or edge construction obscure it? A sharp vector shown at 400 percent zoom proves none of those on its own.
Record tag face dimensions, smallest text and front/back orientation
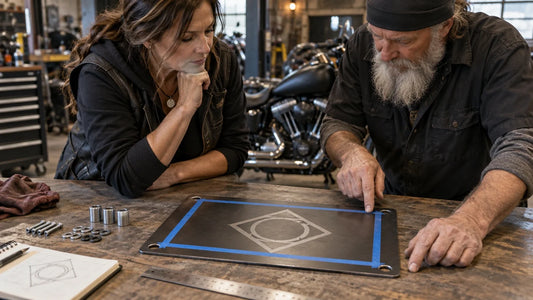
- Tag face dimensions: record finished width and height with units, plus the exact shape. Distinguish total tag size from the decoration area.
- Smallest required text or detail: identify the exact primary letter height or smallest essential feature in the submitted layout. Treat it as a request until the supplier confirms feasibility.
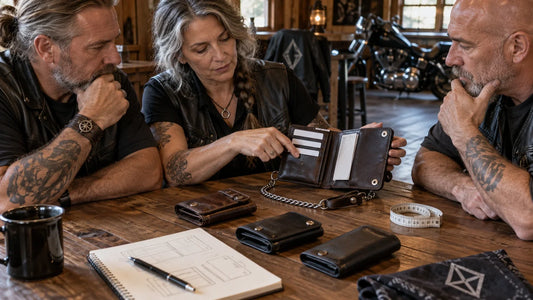
- Front/back orientation: show which edge meets the ring or clip, which direction is “up” while hanging, and what belongs on each face.
- Clearance: mark the distance from important content to the edge, stitch boundary, hole or hardware connection. Leave minimum values pending supplier confirmation.

Print metal, leather or embroidered tag layouts at finished size
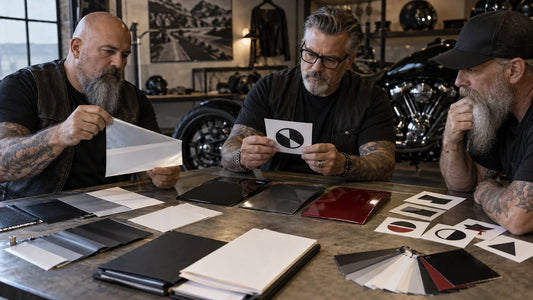
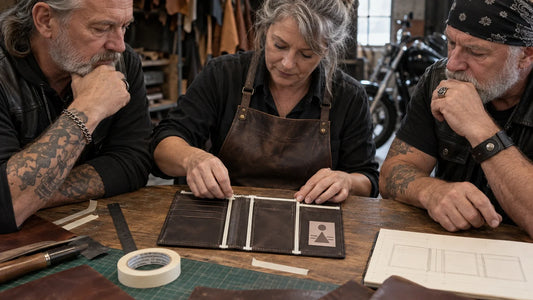
Make one-to-one paper shapes for every proposed tag. Do not let the printer “fit to page.” Place the same simplified layout on each shape and view it at arm's length, beside the intended keys and under ordinary indoor light. The paper test identifies hierarchy and crowding; it does not certify what embroidery, leather decoration or metal production can reproduce.
Create three controlled versions. Version A contains the complete requested content. Version B removes secondary lines and opens tight gaps. Version C keeps only the primary identifier and essential emblem shape. Compare them at the same size. If Version B or C communicates the identity faster, treat that as evidence to simplify rather than enlarge every detail.

Check the result before approving the proof
Ask for a proof tied to the exact material or decoration route being quoted. A printed rendering of thread does not establish stitch clarity. A flat screen color does not establish an engraved edge. Review the applicable merchant sample or photographed proof, then inspect a representative physical sample when offered.
- Confirm finished width, height and orientation.
- Confirm the primary identifier remains visually dominant at actual size.
- Inspect narrow gaps, counters inside letters, tight corners and the area nearest the hardware.
- Check the reverse and edge construction rather than approving the front alone.
- Compare the proof version with the authorized master and record every intentional simplification.
Reject a proof that merely says “art adjusted” without showing what changed. Also reject a layout that crowds important content against the attachment. Ask the supplier to mark its proposed safe area and any detail it recommends removing or thickening.
Save the approved tag face dimensions and proof version
Suppose an early proof compresses a long secondary line until it competes with the main identifier and approaches the ring hole. The useful correction is specific: remove the optional line, preserve the primary identifier's scale, increase open space around the emblem, and recenter the composition inside the supplier-confirmed area. Acceptance is equally specific: the actual-size proof is recognizable, the chosen-process sample keeps the intended separation, and the content clears both edge and hardware.

Save tag face dimensions, the smallest essential text or detail requested, front/back orientation, sample ID, artwork revision, proof version, named approver and approval date. Store the supplier-confirmed limit beside the specific product and process; do not turn it into a universal rule for future orders.
Frequently asked questions
What is the minimum readable text size for a custom keychain?
There is no responsible universal number. It depends on the offered material, decoration process, type style, finished size and production limits. State the requested size with units and ask the supplier to confirm it on the product-specific proof.
Can a screen mockup prove embroidered lettering will be clear?
No. Use the screen proof to check layout, then rely on applicable photographed embroidery evidence and a representative physical sample when offered.
Should the club put more information on the reverse?
Only if the reverse treatment is offered and the information has a clear purpose. Define its orientation independently and do not shrink the primary front identifier to make room.
What should the club retain after approval?
Keep the authorized master, actual-size proof, dimensions with units, supplier-confirmed limits, chosen-process sample ID, proof version, approver and date.
Request a readability and quote review
Send your authorized artwork, quantities and completed measurement or sample checklist to request a design and quote review for custom biker keychains.
Explore Custom Biker Keychains Read the buying guide
Confirm current process limits and approve the final chosen-process proof before production.
Tags:
Previous
How to Choose a Club Keychain Attachment for Gloved Handling
Next
How to Choose a Club Keychain Attachment for Gloved Handling
Related articles
How to Prepare a Club Decal for a Curved Surface
Sep 17 2026