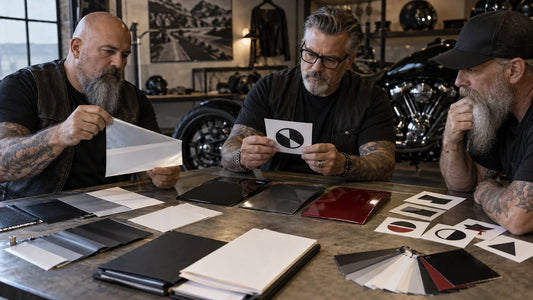
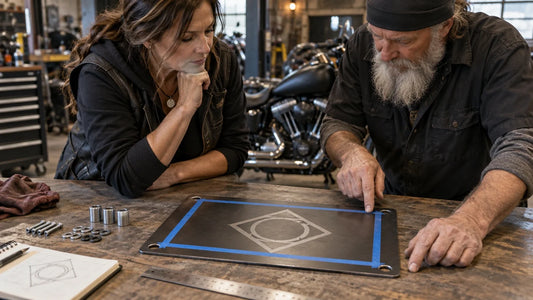
How to Prepare Sleeve and Back Prints for a Club T-Shirt Order
Quick answer: Prepare sleeve and back artwork on templates for the exact chosen shirt blank. Mark garment size, placement, orientation, finished dimensions, and supplier-confirmed clearance from seams, collar, and cuff. Keep left sleeve, right sleeve, and back as separate proof views; then approve the smallest and largest selected garments so the supplier does not have to mirror, stretch, or infer the design.
The club shirt sleeve and back print placement record solves one bounded problem inside a larger order. Use the Custom Motorcycle Club T-Shirts buying guide for choosing short sleeves, long sleeves, or a mixed order and coordinating the complete roster and handoff.
Obtain the selected blank’s decoration template
Ask the merchant for the current template or usable-decoration-area guidance for the exact short- or long-sleeve blank. Record the blank identifier, garment size represented, template version, and units. A generic sleeve drawing cannot establish the current printable area, seam clearance, cuff limit, or process availability.
On every view, label front or back, left or right, shoulder or cuff direction, and the artwork’s upright direction. Mark intended finished width and height only when those values are part of the request or have been supplier-confirmed. Leave unknown margins open for review instead of inventing production tolerances.

Separate sleeve and back placement records
| Proof view | Required orientation marks | Key check |
|---|---|---|
| Back | Collar, centerline, top direction | Supplier-confirmed distance from collar and side seams |
| Left sleeve | Shoulder, cuff, outer sleeve face | Artwork reads upright in the intended wearing position |
| Right sleeve | Shoulder, cuff, outer sleeve face | Independent artwork and orientation; no assumed mirroring |
| Short sleeve | Hem, shoulder seam, outer face | Artwork fits the exact short-sleeve decoration area |
Use filenames and proof labels that make the placement explicit. “Emblem-final” is ambiguous; a name such as “authorized-emblem_rev03_left-sleeve_upright” is easier to reconcile. If the same design appears on both sleeves, the record should still state whether the two files are identical, mirrored, rotated, or separately composed.
Check the smallest and largest selected garments
A placement that looks balanced on one sample may crowd a seam on a smaller garment or look undersized on a larger one. Request proofs or samples representing the smallest and largest selected blanks. Compare the same intended dimensions first; if the supplier recommends size-specific adjustments, record each approved rule rather than allowing an undefined scale change.
Review the proof at actual finished size. Check essential detail, line weight, border clearance, centerline, top direction, and the relationship to seams or cuffs. Enlargement is useful for marking an issue, but it can make small artwork appear more legible than it will be on the garment.

Do not mirror or stretch artwork by assumption
Mirroring can reverse directional artwork, create unintended symbols, or change the approved club mark. Stretching can alter proportions and border weight. Provide separate left, right, and back files or unambiguous placement instructions derived from the authorized master. If a sleeve needs a directional variant, obtain club approval for that variant before the supplier prepares the production proof.
Back placement also needs a named reference. “Centered” should mean centered to the supplier-confirmed garment or printable-area reference, not centered by eye in a cropped mockup. Ask whether construction varies across sizes and which reference will be used in production.

Save one placement approval record
Store the blank, garment size range, template revision, placement files, intended dimensions, supplier-confirmed margins, physical sample ID, proof version, artwork revision, approver, and date. An acceptance statement can read: “Back, left sleeve, and right sleeve match their labeled files; top direction is correct; essential artwork clears the confirmed boundaries on the smallest and largest selected samples.”
Reject a proof that shows only one generic shirt, leaves sleeve side unspecified, or changes scale without a rule. Request a corrected proof instead of relying on production staff to infer the intended result. Reconfirm the record if the blank, size range, process, or artwork changes.
Frequently asked questions
Can the same sleeve template be used for every shirt?
No. Use current guidance for the exact blank and account for the selected size range and sleeve format.
Should right-sleeve artwork be mirrored automatically?
No. Mirroring is a design decision. Supply or approve the intended right-sleeve version explicitly.
How far should a back print sit below the collar?
Do not borrow a universal distance. State the requested relationship and have the merchant confirm the current placement for the exact blank and process.
Why review the smallest and largest sizes?
They reveal edge-clearance and visual-scale problems that a single middle-size proof may hide.
What makes a placement proof complete?
It identifies the blank, size, view, side, orientation, dimensions or open questions, artwork revision, proof version, and approval record.
Request a placement review
Send your authorized artwork, quantities and completed measurement or sample checklist to request a design and quote review for short-sleeve t-shirts / long-sleeve t-shirts.
Explore Short-Sleeve T-Shirts Review Long-Sleeve T-Shirts
A quote inquiry is not production approval. Confirm every placement on the current proof and sample before production.
Tags:
Previous
How to Collect Mixed T-Shirt Sizes for a Motorcycle Club Order
Next
How to Collect Mixed T-Shirt Sizes for a Motorcycle Club Order
Related articles
How to Prepare a Club Decal for a Curved Surface
Sep 17 2026