

7 Fitment Mistakes to Avoid When Buying Motorcycle Lighting
The most common motorcycle-lighting fitment mistakes are shopping by appearance, treating a model family as one fitment, overlooking the exact option, assuming connectors and controllers are included, ignoring clearance, mixing up lighting functions, and skipping legal and installation checks. Verify the motorcycle, selected component and complete system before ordering.
Safety note: Lighting affects visibility and electrical safety. Follow current product and motorcycle instructions, never guess wire functions or fuse ratings, and use a qualified technician when fitment or wiring is uncertain.
Mistake 1: Buying from the photo instead of the exact part description
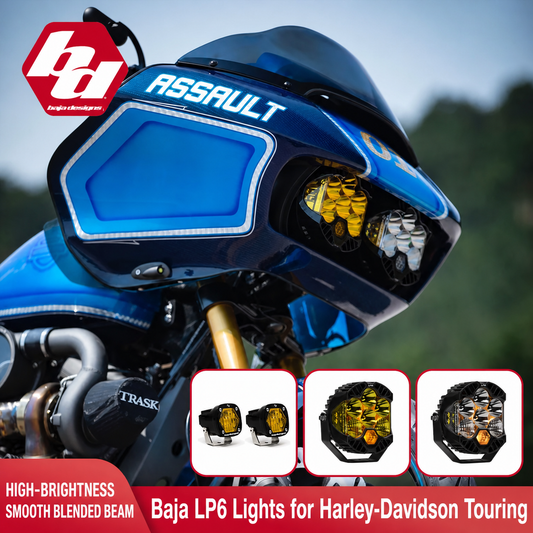
A listing image may show a complete setup while the selectable option is a lamp, lens, bracket or harness. Read the option name, package contents and part number before checkout.

This range contains different headlight and auxiliary-light components, so the selected item—not the hero photo—defines what arrives.
Mistake 2: Assuming every year in a model family fits
Fairings, guards, saddlebags, connectors and control systems change across years and trims. Match make, model, year and relevant factory hardware.

These running-light and turn-signal units are intended for specified Touring applications; guard shape and electrical compatibility both matter.
Mistake 3: Treating every option as a complete kit
Modular systems commonly separate lamps, lenses, mounts, switches, harnesses and controllers. Build a complete bill of materials for the chosen configuration.

DENALI options span lamps and supporting components, making exact option and package-content checks essential.
Mistake 4: Forgetting controllers and electrical interfaces
Color control, zones, data-bus communication and multi-function behavior may require specific modules. Confirm connectors, controller requirements, current draw and fuse guidance.

This RGB system uses configuration-specific components for compatible Road Glide applications; compatibility is broader than physical mounting alone.
Mistake 5: Ignoring steering, suspension and heat clearance
A light can bolt on yet interfere with cables, moving parts, bodywork or hot components. Check full steering lock, suspension travel, wire routing and service access.

Compact hidden turn signals still require model-specific mounting, secure wire routing and correct load behavior.
Mistake 6: Confusing running, brake, turn and accent functions
Similar-looking products may perform different jobs. Confirm every supported function, lens color and wiring circuit; decorative lighting cannot replace required lamps.

Sequential saddlebag lights combine multiple functions in year-specific variants, so both function and model-year selection must match.
Mistake 7: Skipping instructions and current road-use rules
Color, placement, brightness and permitted use vary by location. Product claims do not replace local requirements or a safe installation inspection.
Pre-purchase fitment checklist
- Record make, model, year, trim and existing modifications.
- Choose the exact variant or part number.
- Confirm every included and separately required component.
- Verify connector, controller, load and fuse requirements.
- Measure mounting and moving-part clearance.
- Confirm intended lighting function and current local rules.
- Plan professional installation when any detail is uncertain.
Fitment details and availability verified against active Motor Club Shop listings on September 13, 2026. Current product pages, manufacturer instructions and applicable law take priority.
Tags:
Previous
Motorcycle Backrests: Fitment and Buying Questions Answered
Next
How Heavy Should Skull Rings Feel? Weight and Comfort Guide
Related articles

How to Choose Biker Necklaces as a Gift
Sep 13 2026


How to Choose Biker Earrings as a Gift
Sep 13 2026
How to Inspect and Maintain Motorcycle Lighting
Sep 13 2026